Preparing the Project for Laser Cutting
 Limited offer! First 20 orders get -50% on all items with code WELCOME50 – don’t miss out!
Preparing the Project for Laser Cutting
Before you start cutting wood, acrylic, or cardboard with your laser machine, it’s important to properly prepare your design files. Whether you’re using Glowforge, Lightburn, or any other laser cutter, a clean and optimized vector file will save you time, material, and frustration.
Laser cutters require specific formats to read your design correctly. The most commonly supported file types include:
SVG – Scalable Vector Graphics (recommended for most software)
DXF – Great for compatibility with CAD software
PDF – Often accepted but may contain rasterized content
AI / EPS – Used by Adobe Illustrator and other design tools
Always export your file in vector format — raster images like JPG or PNG won’t work unless converted first.
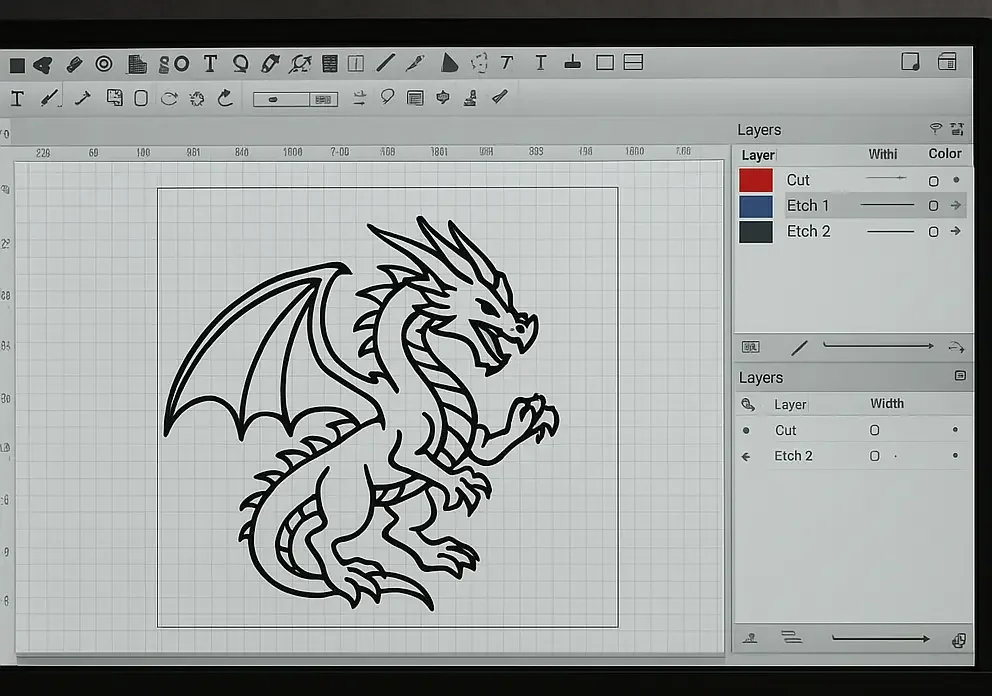
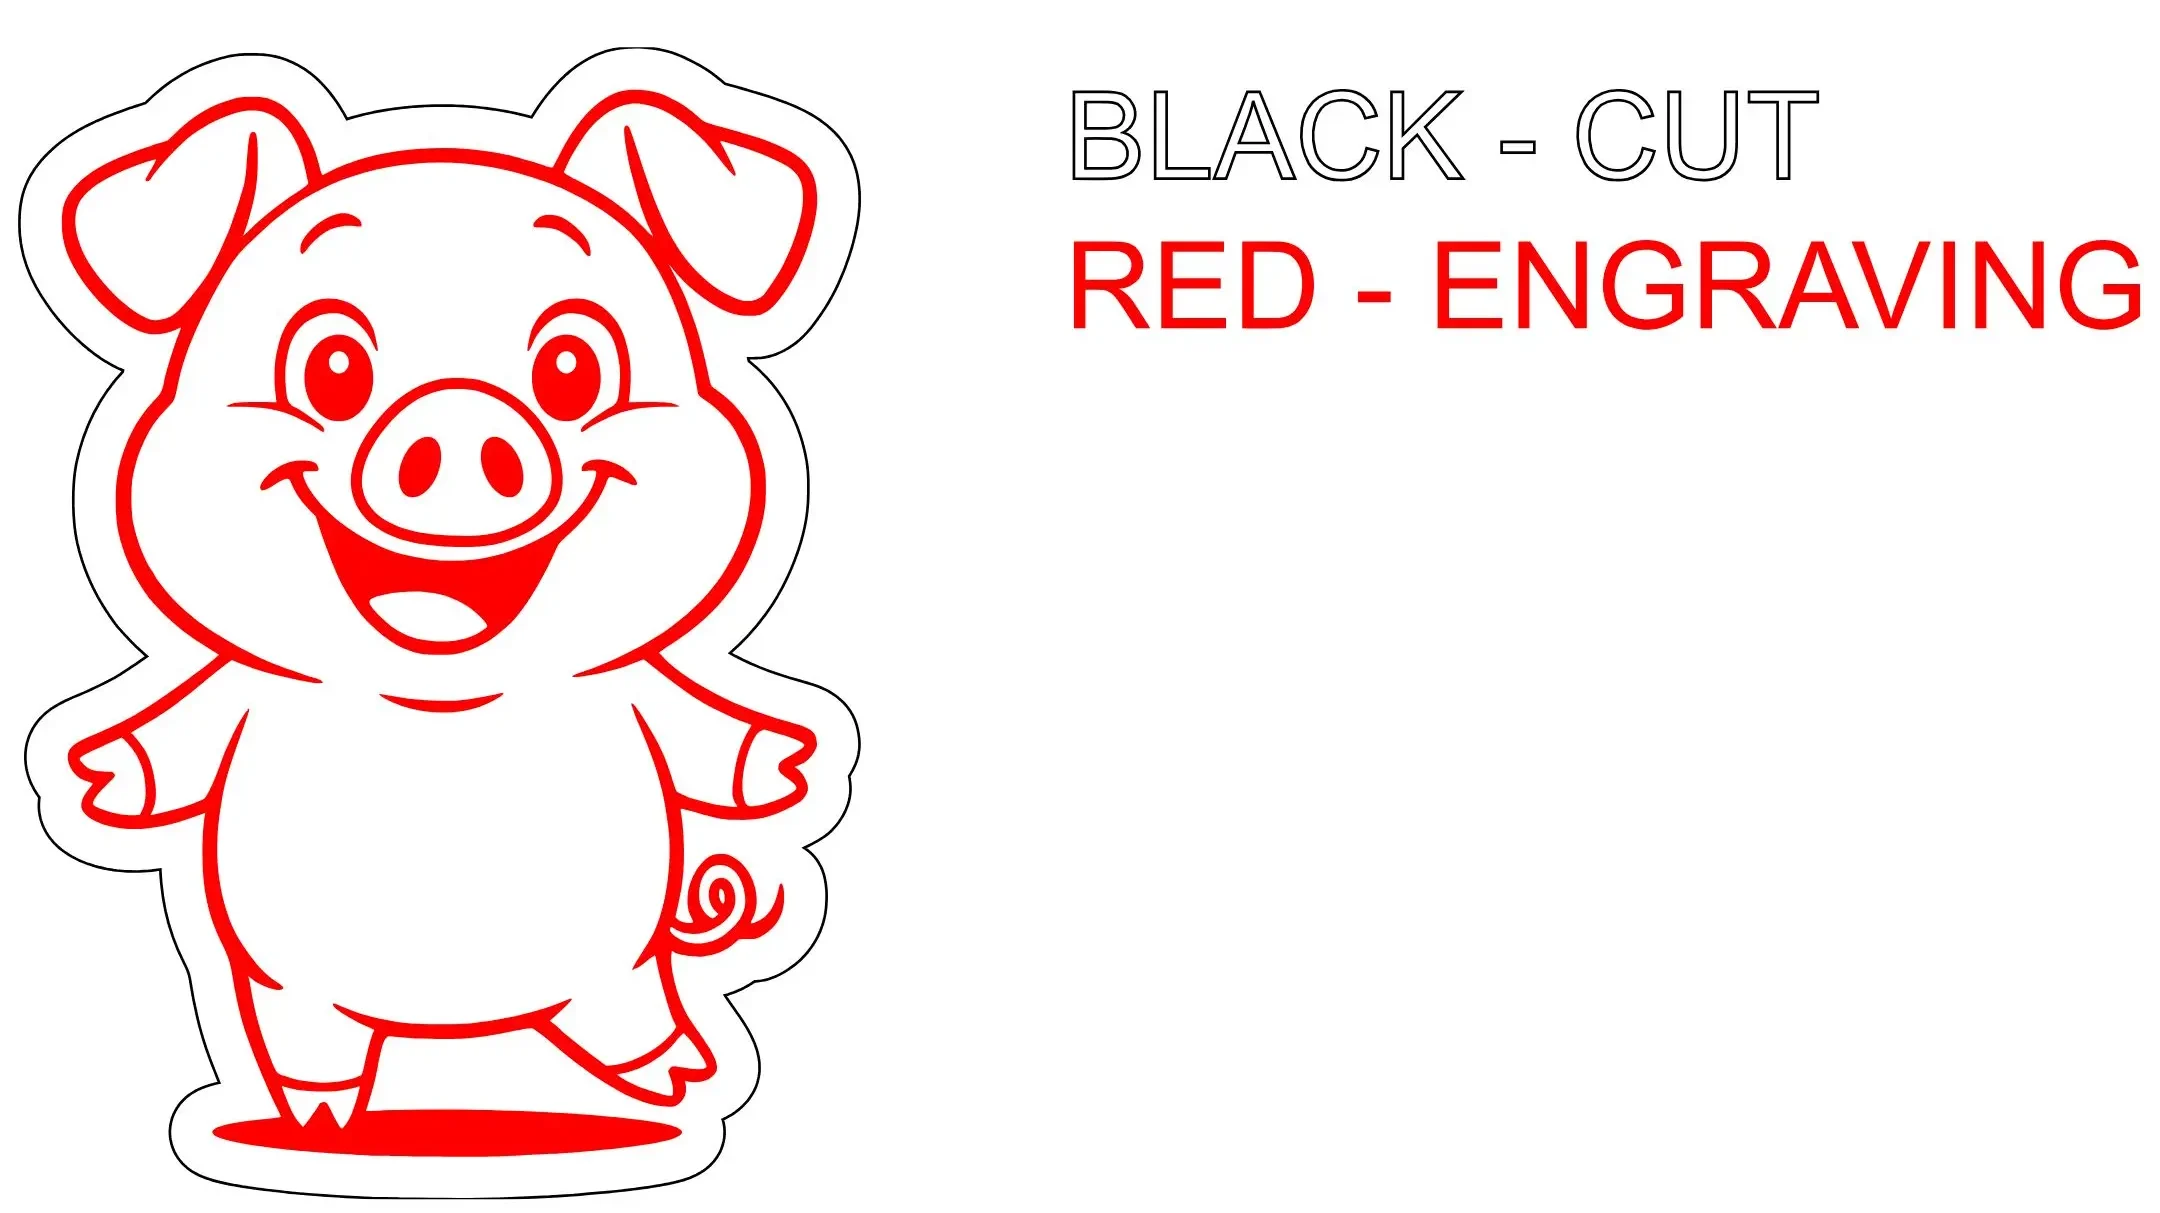
Your laser cutter reads line weight and color to determine what to cut, engrave, or ignore. Here’s a simple guideline:
Hairline (0.001 mm) or single stroke = cut
Thicker lines or filled areas = engrave
Use color layers (e.g., red for cut, blue for score) to separate operations
Before exporting, make sure to:
Remove overlapping lines and duplicate paths
Combine small shapes where possible
Flatten any clipping masks or effects
Align your design to the material size
A clean vector file prevents double cuts, skips, or misreads during the job.
Once your design is ready:
Export it as SVG or DXF (based on your software)
Double-check dimensions in mm or inches
Run a test cut on scrap material
📥 Download our free test file here
Check out our growing collection of ready-made laser cutting projects, available instantly as digital downloads.
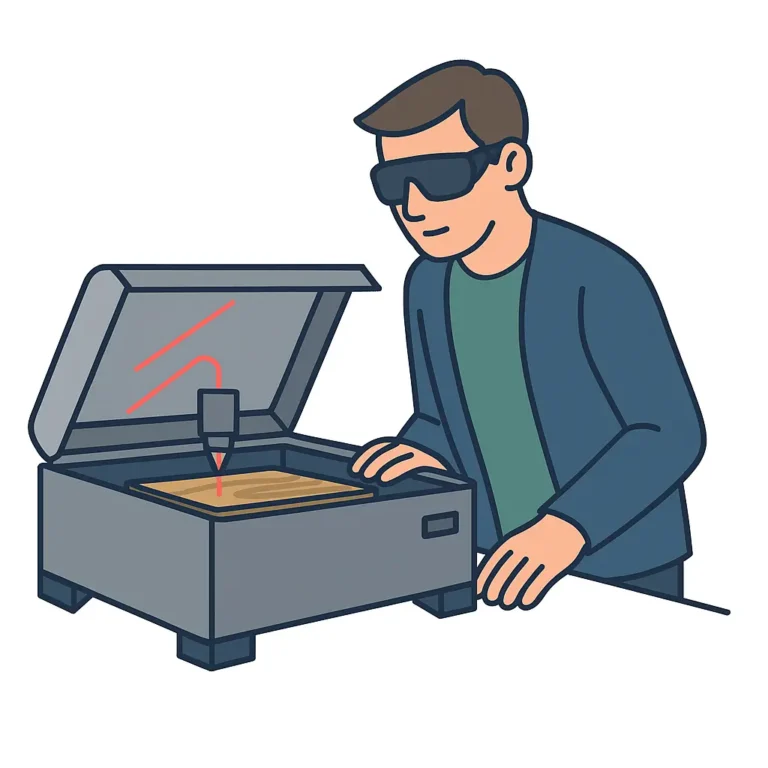
Laser Cutter – What It Is, How It Works, and Why You Need One in Your Workshop